eero Insight for eero Business
What is eero Insight?
eero Insight is a web portal that helps you manage your Business Network. It's designed to make network management simple and straightforward. If you'd like to learn more about eero Business, check out our eero Business page.
Who can access eero Insight?
Only Business Network Owners with an eero Business subscription can access eero Insight. Network admins don’t have access to eero Insight.
How do I access eero Insight?
From the web
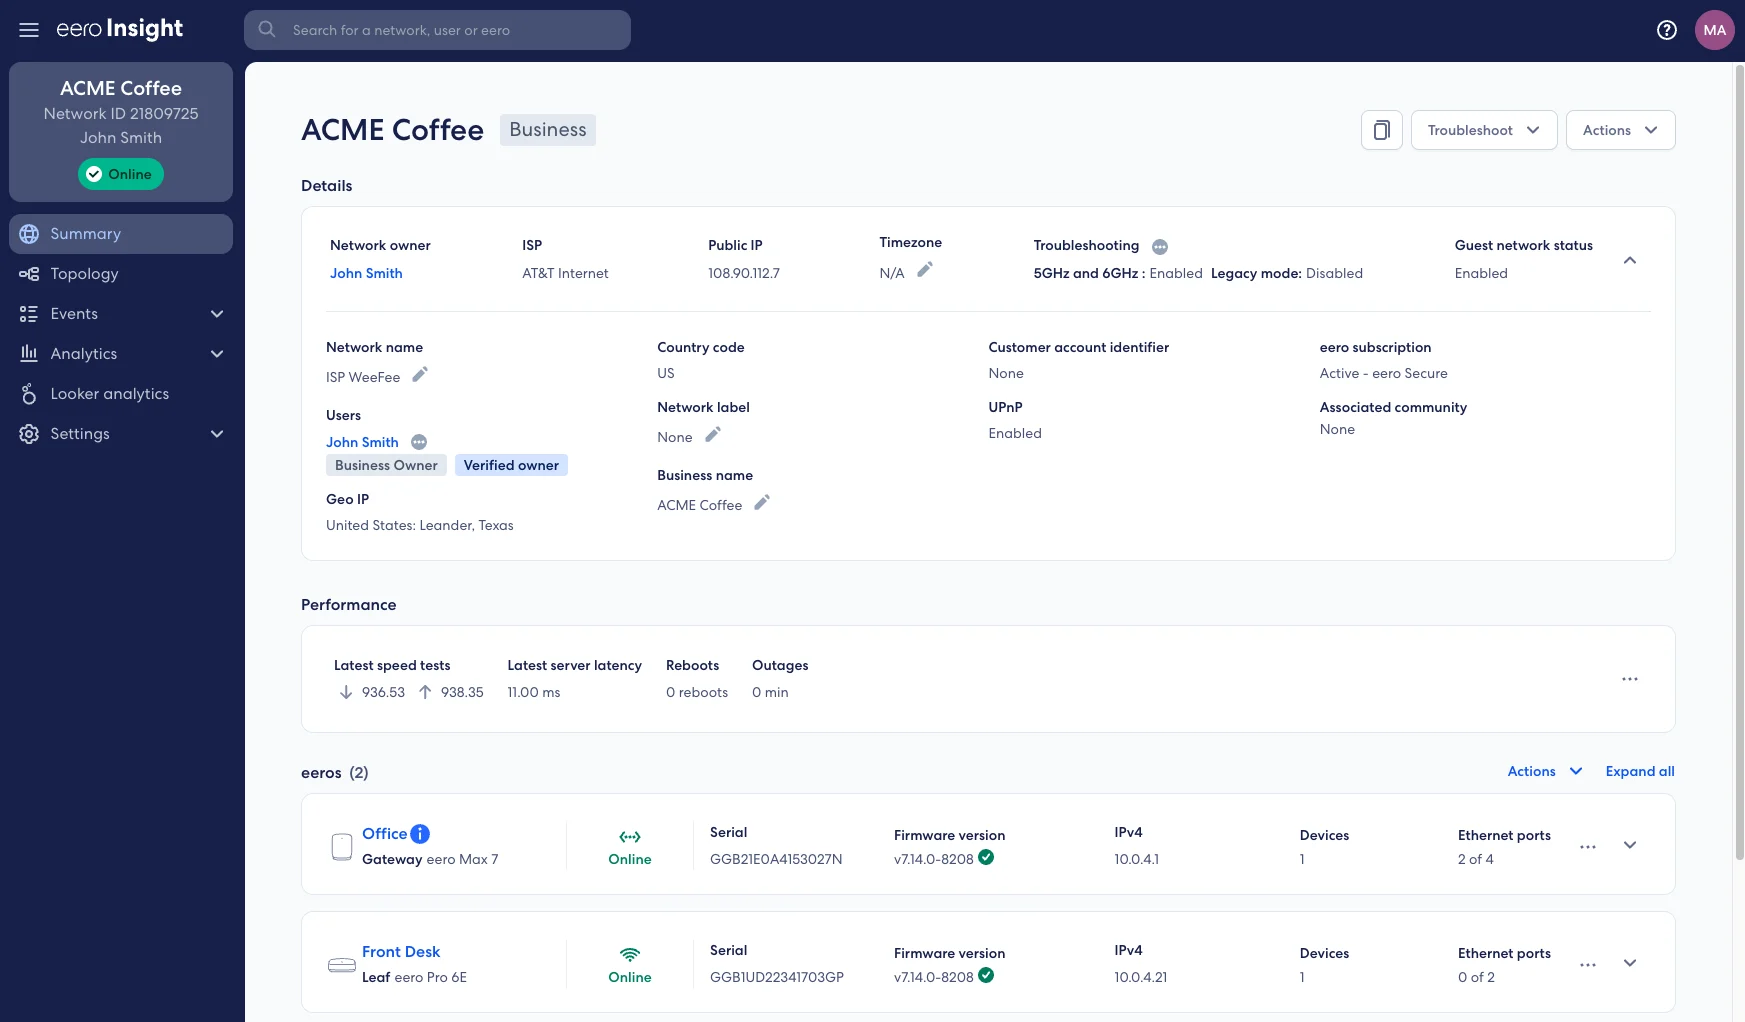
Go to insight.eero.com and sign in with your email address, or click Sign in with Amazon if your eero account uses Amazon login.
From the eero App
You can also access eero Insight through the eero App:
Download the eero App from the Google Play Store or iOS App Store
Sign in using your linked Amazon account or the phone number or email address associated with your eero account. If you have more than one network, select your business network
Tap Settings, then scroll down and tap Access eero Insight
What can I do in eero Insight?
eero Insight helps you manage your business network with these features:
View your network status and connected eeros
See which devices are connected and manage profiles
Check network analysis dashboards for reboots, channel utilization, and thermal analysis
Monitor network activity like speed tests and bandwidth usage
Set up multiple wifi networks on your business network (up to four)
Upload custom captive portal images and terms of use
Track visitor engagement on your guest network
Setting up multiple wifi networks
In addition to your main network, you can create up to 3 additional wifi networks for your business.
From the eero App
Visit our article How do I get started with eero Business? to learn more about activating additional networks through the eero App.
From eero Insight
Go to insight.eero.com in your web browser
Sign in with the email or Amazon account linked to your eero Business account
If you have multiple networks, select the one you want to work with
Click Settings and then Network settings in the left navigation menu on the left
Click Add wifi Network
Choose either Add business wifi network or Add IoT wifi network
Enter your new wifi name and password
Click Save
You can enable or disable your wifi networks anytime by clicking on the network and toggling it on or off.
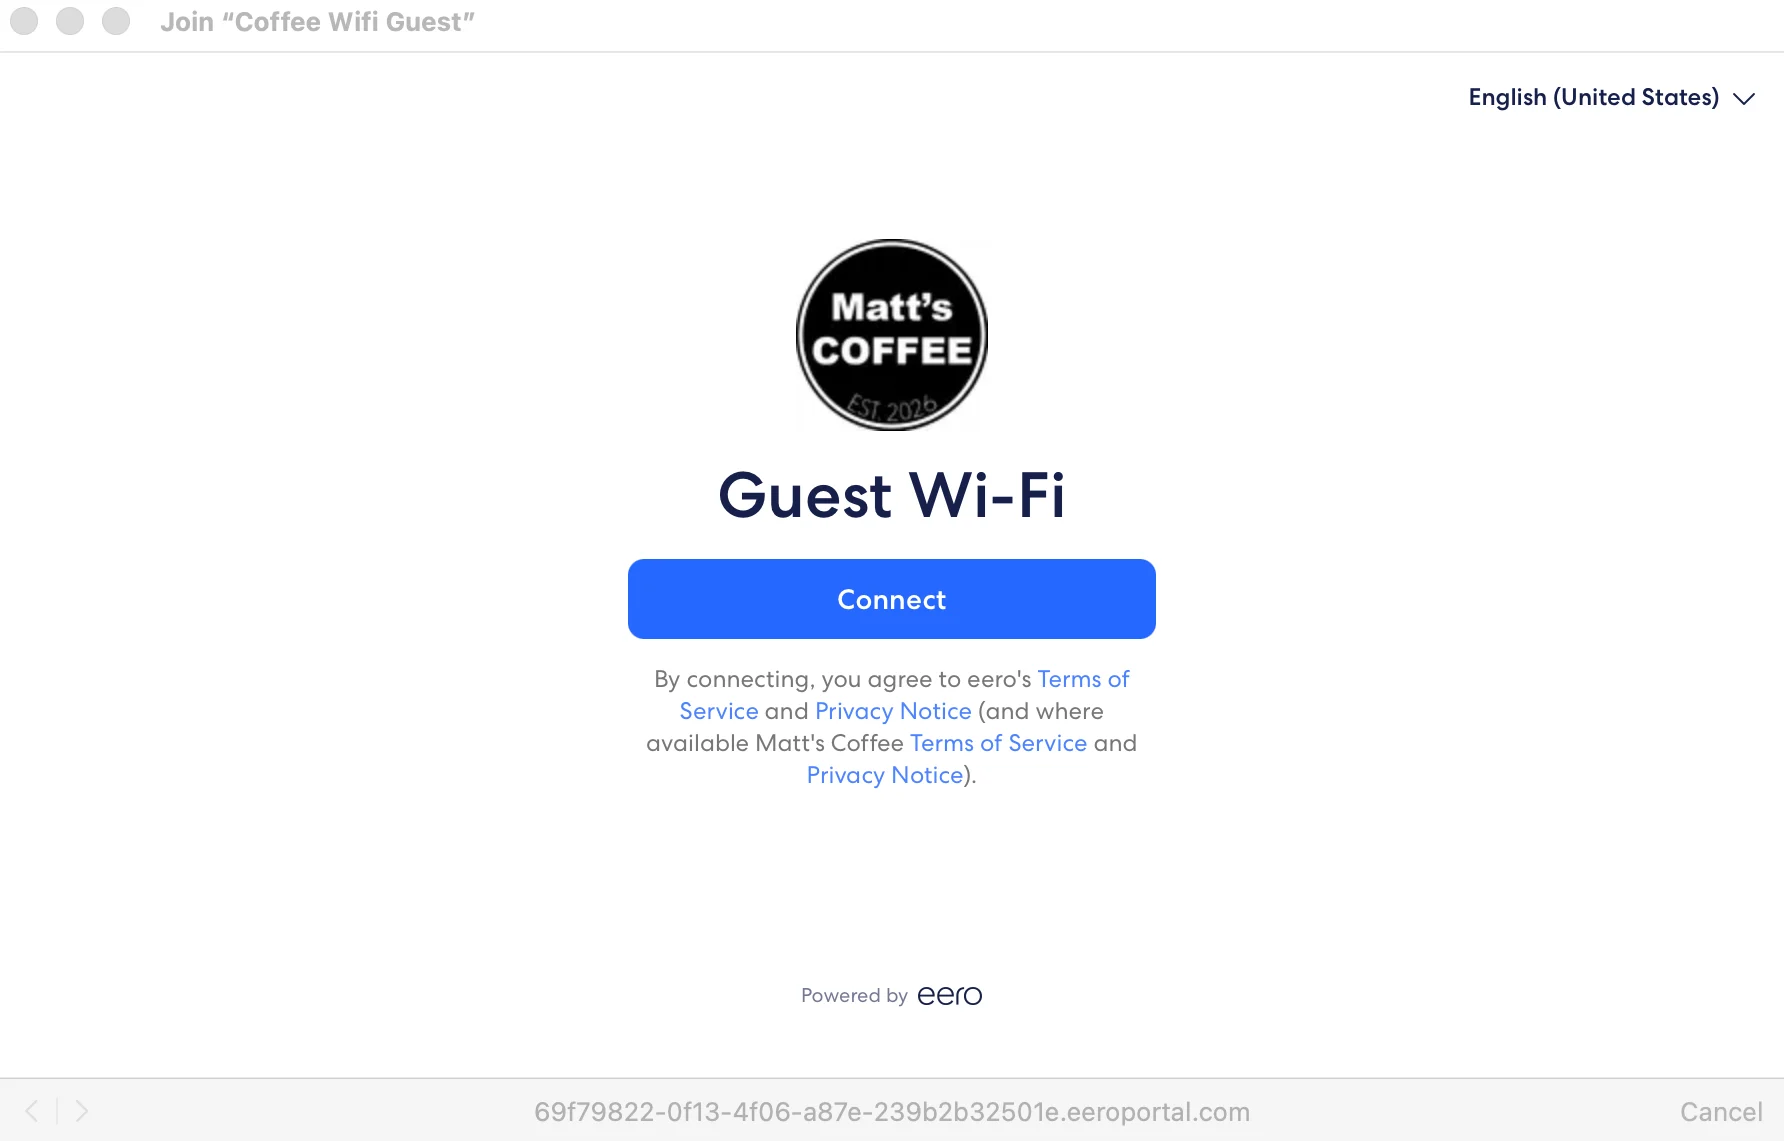
Uploading your captive portal logo and terms of use
eero Business allows you to upload a customized captive portal logo to match your business, as well as the ability to upload terms and conditions specific to your organization.
From the eero App
Open the eero App
If you have multiple business networks, select the one you wish to work with by tapping the downward arrow in the top-left corner of the Home tab
Tap on the Settings tab at the bottom
Tap Multi SSID
Tap the > (right arrow) next to your guest network name, and ensure Enable wifi network and Enable captive portal are toggled on
Select Edit captive portal
Select a Session duration
Note: This can be set in increments of 30 minutes, 60 minutes, 90 minutes or a maximum of 24 hours.
Tap Captive portal logo
Upload a logo that will be displayed to your visitors on your captive portal
You have the option to Choose File or select an image from your photo library
Browse your files or photo library and select the logo you'd like to use within your captive portal
Once your logo has been uploaded, you can Remove, Replace or View the file
To add custom terms of use, tap Custom terms of use and enable it
Import a terms file from your file library
Tap Save
Note: Only .txt files are supported at this time.
From eero Insight
Click Settings and then Network settings in the left navigation menu on the left, and ensure that Guest is enabled under Wifi networks
Click Edit in the Captive portal section, and ensure Enable captive portal is toggled on
To upload a custom logo that your guests will see, click Click to upload under Logo. You can also upload custom terms of use by checking the box next to Upload custom Terms of Use and clicking Click to upload
Note: Captive portal images should be at least 200x200px in PNG, JPG, or JPEG format and 5MB or less. Custom terms of use must be in a .txt file.
Tracking visitor engagement
The Visitor Engagement dashboard shows you a summary of visitor activity on your eero Business guest network. You'll see visitor trends over time, popular days, and peak hours within a 90-day timeframe.
Setting up the Visitor Engagement dashboard
To use the Visitor Engagement dashboard, you'll need to enable the captive portal first:
In eero Insight, go to Settings, then Network Settings in the left navigation menu on the left
Find the Captive Portal section
Click Edit in the Captive portal section, and ensure Enable captive portal is toggled on
Choose a duration, upload a logo and/or custom terms of use, and add a Subheader for your customers to learn about the guest network (optional)
To enable the Visitor Engagement dashboard, check the Name and email box under Additional visitor information (optional)
Once you've completed these steps, the Visitor Engagement dashboard will appear and start collecting visitor information. Data from before you enabled this feature won't be collected or visible.
Note: The dashboard doesn't display data in real time. Data updates daily at midnight in your current timezone.
Understanding the Visitor Engagement dashboard
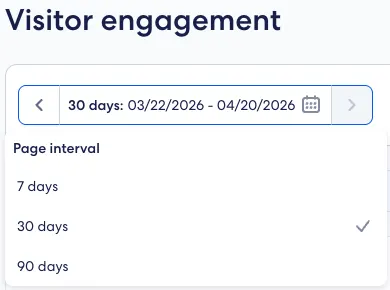
Time interval selection
Choose the time period you'd like to view: seven days, 30 days, or 90 days.
Visitors over time
This graph shows the number of visitors during your selected timeframe. The bar graph displays both unique visitors and repeat visitors. Click any bar to see the breakdown between each group.
Unique visitors are determined by the information they provide when connecting to your network. New devices show as unique visitors when they have a unique combination of name, email, and device MAC address. Repeat visitors are users who provided the same information with the same device and connected on multiple days.
Popular days
This graph shows the average number of visitors per day of the week and highlights which days have the most traffic.
Popular times
This graph shows peak usage hours alongside the most popular days.